
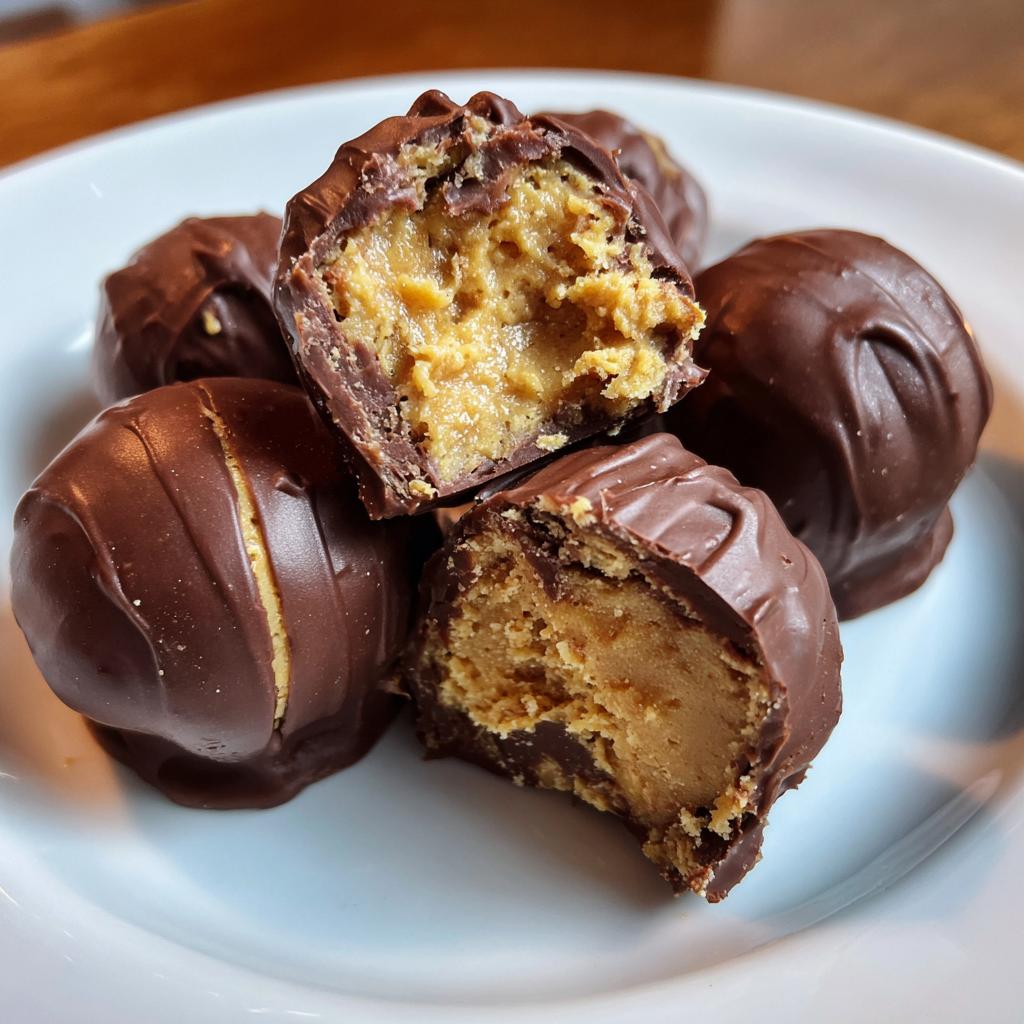
You know those days when you’re craving something sweet but don’t want to turn on the oven? That’s exactly how my peanut butter banana truffles were born—out of sheer laziness and a serious chocolate craving! I was staring at a ripe banana on my counter, wondering what to do with it, when inspiration struck. Twenty minutes later, I had these little bites of heaven chilling in my fridge.
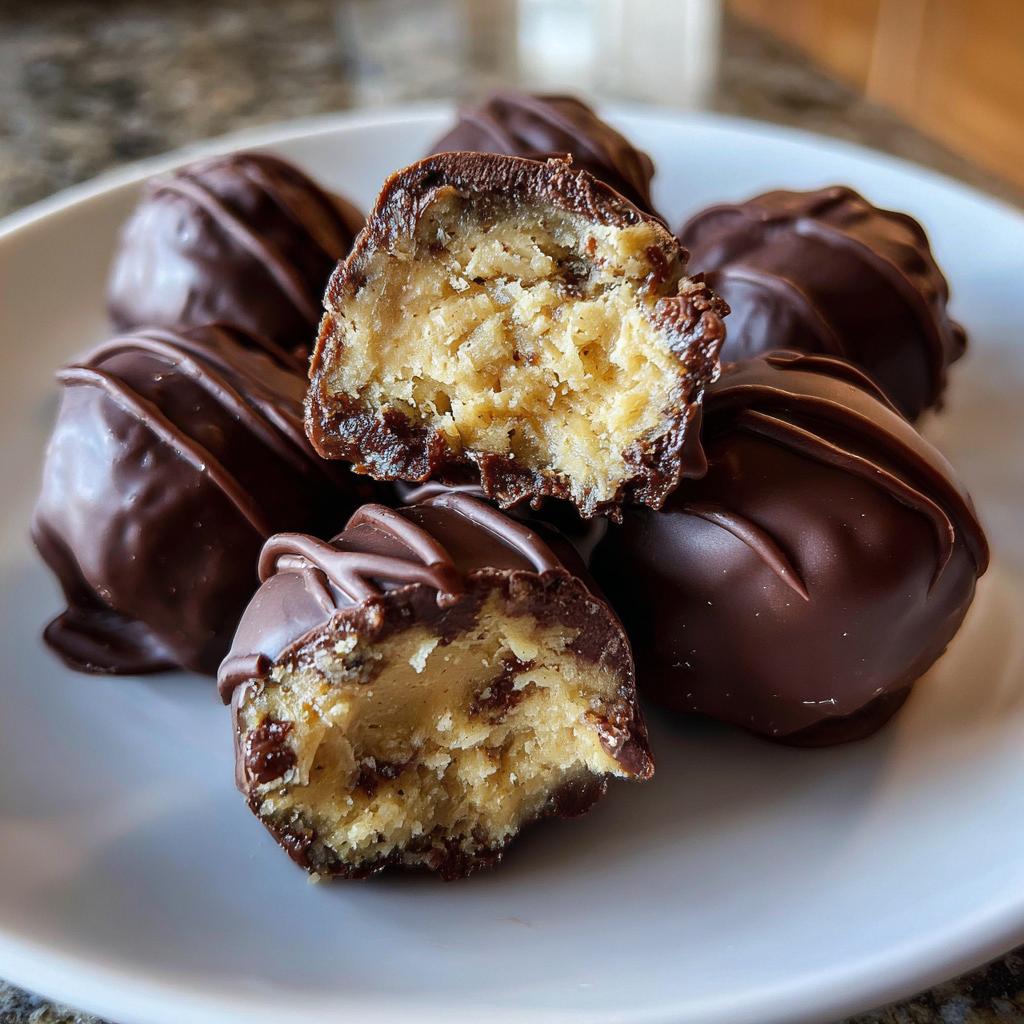
These truffles are my go-to when I need a quick dessert fix. They combine creamy peanut butter, sweet banana, and rich chocolate in one perfect bite—no baking required. The best part? You probably have all the ingredients in your pantry right now. My kids go crazy for them, and honestly? So do I. They’re dangerously easy to make and even easier to eat!
Why You’ll Love These Peanut Butter Banana Truffles
Let me tell you why these little guys are about to become your new obsession:
- No oven required – Perfect for hot summer days or when you just can’t be bothered to bake
- Ready in under an hour – Most of that time is just waiting while they chill!
- Naturally sweetened – The banana and honey do all the work so you don’t need loads of sugar
- Kid-approved – My little ones beg to help roll the balls (and sneak bites of the mixture)
- Party perfect – They look fancy but take zero effort – your secret is safe with me
Seriously, what’s not to love? They’re like little bites of peanut butter banana bliss!
Ingredients for Peanut Butter Banana Truffles
Here’s what you’ll need to make these irresistible treats – I promise it’s all simple stuff you might already have:
- 1 cup creamy peanut butter (the natural kind works great!)
- 1 medium ripe banana, mashed (about ½ cup)
- 1 cup rolled oats (quick oats work too)
- 2 tbsp honey (or maple syrup if you prefer)
- 1 tsp vanilla extract (the good stuff makes a difference)
- 1 cup dark chocolate chips (or milk chocolate if you’re feeling indulgent)
- 1 tsp coconut oil (helps the chocolate melt smoothly)
See? Nothing fancy – just honest ingredients that come together in the most magical way!
Don’t worry – you won’t need any fancy gadgets for these truffles! Just grab: That’s it! Now let’s get to the fun part – making these little bites of joy. Okay, let’s get to the good stuff! Making these truffles is so easy, you’ll wonder why you haven’t been making them every week. Here’s how it all comes together: First, grab that ripe banana and mash it really well in your mixing bowl – no lumps! Then add your peanut butter, oats, honey, and vanilla. Now comes the fun part – mix it all together with a wooden spoon (or get your hands in there – I won’t tell!). You want everything fully combined with that perfect sticky texture that holds together when you squeeze it. Time to get rolling! Scoop out about a tablespoon of the mixture and roll it between your palms to make a nice little ball, about 1-inch across. Line them all up on your parchment-lined tray – they should make about 20 truffles. Now here’s the important part: pop them in the freezer for 30 minutes. This firms them up so they won’t fall apart when we dip them in chocolate! While those are chilling, melt your chocolate chips with the coconut oil in 30-second bursts in the microwave, stirring between each one. When it’s smooth and glossy, take your frozen truffles and dip them one at a time. I use a fork to roll them around, then tap off the excess chocolate. Back on the parchment they go! Let them set in the fridge for about 15 minutes until the chocolate hardens. Then? Try not to eat them all at once – though I totally understand if you can’t help yourself! Alright, let me share my hard-earned secrets for truffle perfection! First – use bananas with brown spots – they’re sweeter and mash like a dream. Second, don’t skip the freezer time – those 30 minutes make all the difference when dipping! Want some crunch? Throw in chopped peanuts or almonds to the mix. Here’s my sneaky trick: keep your hands slightly wet when rolling – the mixture won’t stick as much. And if your chocolate starts thickening? Just zap it for 5 more seconds. Easy peasy! Oh, the possibilities! Once you’ve mastered the basic recipe, try these fun twists: swap peanut butter for almond or cashew butter (so good!). Add a pinch of cinnamon or nutmeg to the mix for extra warmth. Feeling fancy? Use white chocolate instead of dark – it makes them look like little snowballs! For a protein boost, mix in some chia seeds or flaxmeal. My personal favorite? Rolling the finished truffles in crushed graham crackers or toasted coconut. The best part? No matter how you tweak them, they’re always delicious! These little gems will keep happily in an airtight container in the fridge for up to 5 days – if they last that long! I like to serve them slightly chilled – the cool chocolate with the creamy peanut butter center is just perfection. Pop them on a pretty plate for guests, or sneak one straight from the container when no one’s looking (my personal favorite way). Okay, let’s be real – we’re not eating these truffles because they’re health food (though they’re not too shabby as treats go!). Just remember these numbers are estimates – your exact counts might change depending on your ingredients. Each truffle packs about 120 calories with 7g of good fats from the peanut butter and 4g of protein to keep you satisfied. The banana and honey give natural sweetness without going overboard on sugar. But honestly? The best nutrition fact is the huge smile they’ll put on your face! As my grandma used to say, “A little joy is good for the soul.” Can I use crunchy peanut butter instead of creamy? How long do these truffles last? Can I freeze peanut butter banana truffles? What if my mixture is too sticky to roll? I’d love to hear how your truffles turned out! Did you add any fun twists? Snap a pic and tag me – nothing makes me happier than seeing your creations. And if you loved them as much as we do, leave a rating so other peanut butter banana fans can find this recipe too! Easy no-bake peanut butter banana truffles. These bite-sized treats combine creamy peanut butter, ripe bananas, and a chocolate coating for a simple dessert. Keywords: peanut butter banana truffles, no-bake dessert, easy chocolate treats
How to Make Peanut Butter Banana Truffles
Step 1: Mix the Ingredients
Step 2: Shape and Freeze
Step 3: Coat with Chocolate
Tips for Perfect Peanut Butter Banana Truffles
Variations for Peanut Butter Banana Truffles
Storing and Serving Peanut Butter Banana Truffles
Nutritional Information
Frequently Asked Questions
Absolutely! I actually love the texture crunch gives these truffles. Just know the balls might be slightly harder to roll smoothly – but that rustic look has its own charm!
They’ll keep great in the fridge for about 5 days in an airtight container. Honestly though? Mine never make it past day 3 before someone (usually me) gobbles them all up!
You bet! They freeze beautifully for up to 2 months. Just pop them in a freezer bag with parchment between layers. Thaw in the fridge overnight – the chocolate might get a little cloudy but they’ll taste just as amazing.
No worries! Just add a tablespoon more oats at a time until it firms up. I’ve been there – sometimes bananas vary in moisture. A little extra oats saves the day!Share Your Peanut Butter Banana Truffles

Peanut Butter Banana Truffles: 20 Bites of Blissful Indulgence
Description
Ingredients
Instructions
Notes
Nutrition


")
")
")
")